고정 헤더 영역
상세 컨텐츠
본문 제목
Raspberry Pi 라즈베리파이 - Anet A8 연결 8부: Octoprint 웹캠 유튜브 스트리밍 (how to use Youtube streaming on Octoprint Webcam)
본문
반응형

일전에 캠을 연결하고 프린트 상태를 실시간으로 확인 할 수 있었는데요
조금 더 욕심을 내서 이 영상을 YouTube에서 확인해보고 싶은 생각이 들어 진행했습니다
외부에서 공유기로 접근해도 되긴 하지만(포트 포워드 설정도 끝난 상태)
공유기 DDNS말고도 쉽게 접근하고 싶기 때문이라는 억지 설정을…
다행히 octoprint 플러그인에서 YouTube streaming이 제공되네요
webcamstreamer와 YoutubeLive 플러그인중에 트위치도 사용 가능한 webcamstreamer를 사용했습니다

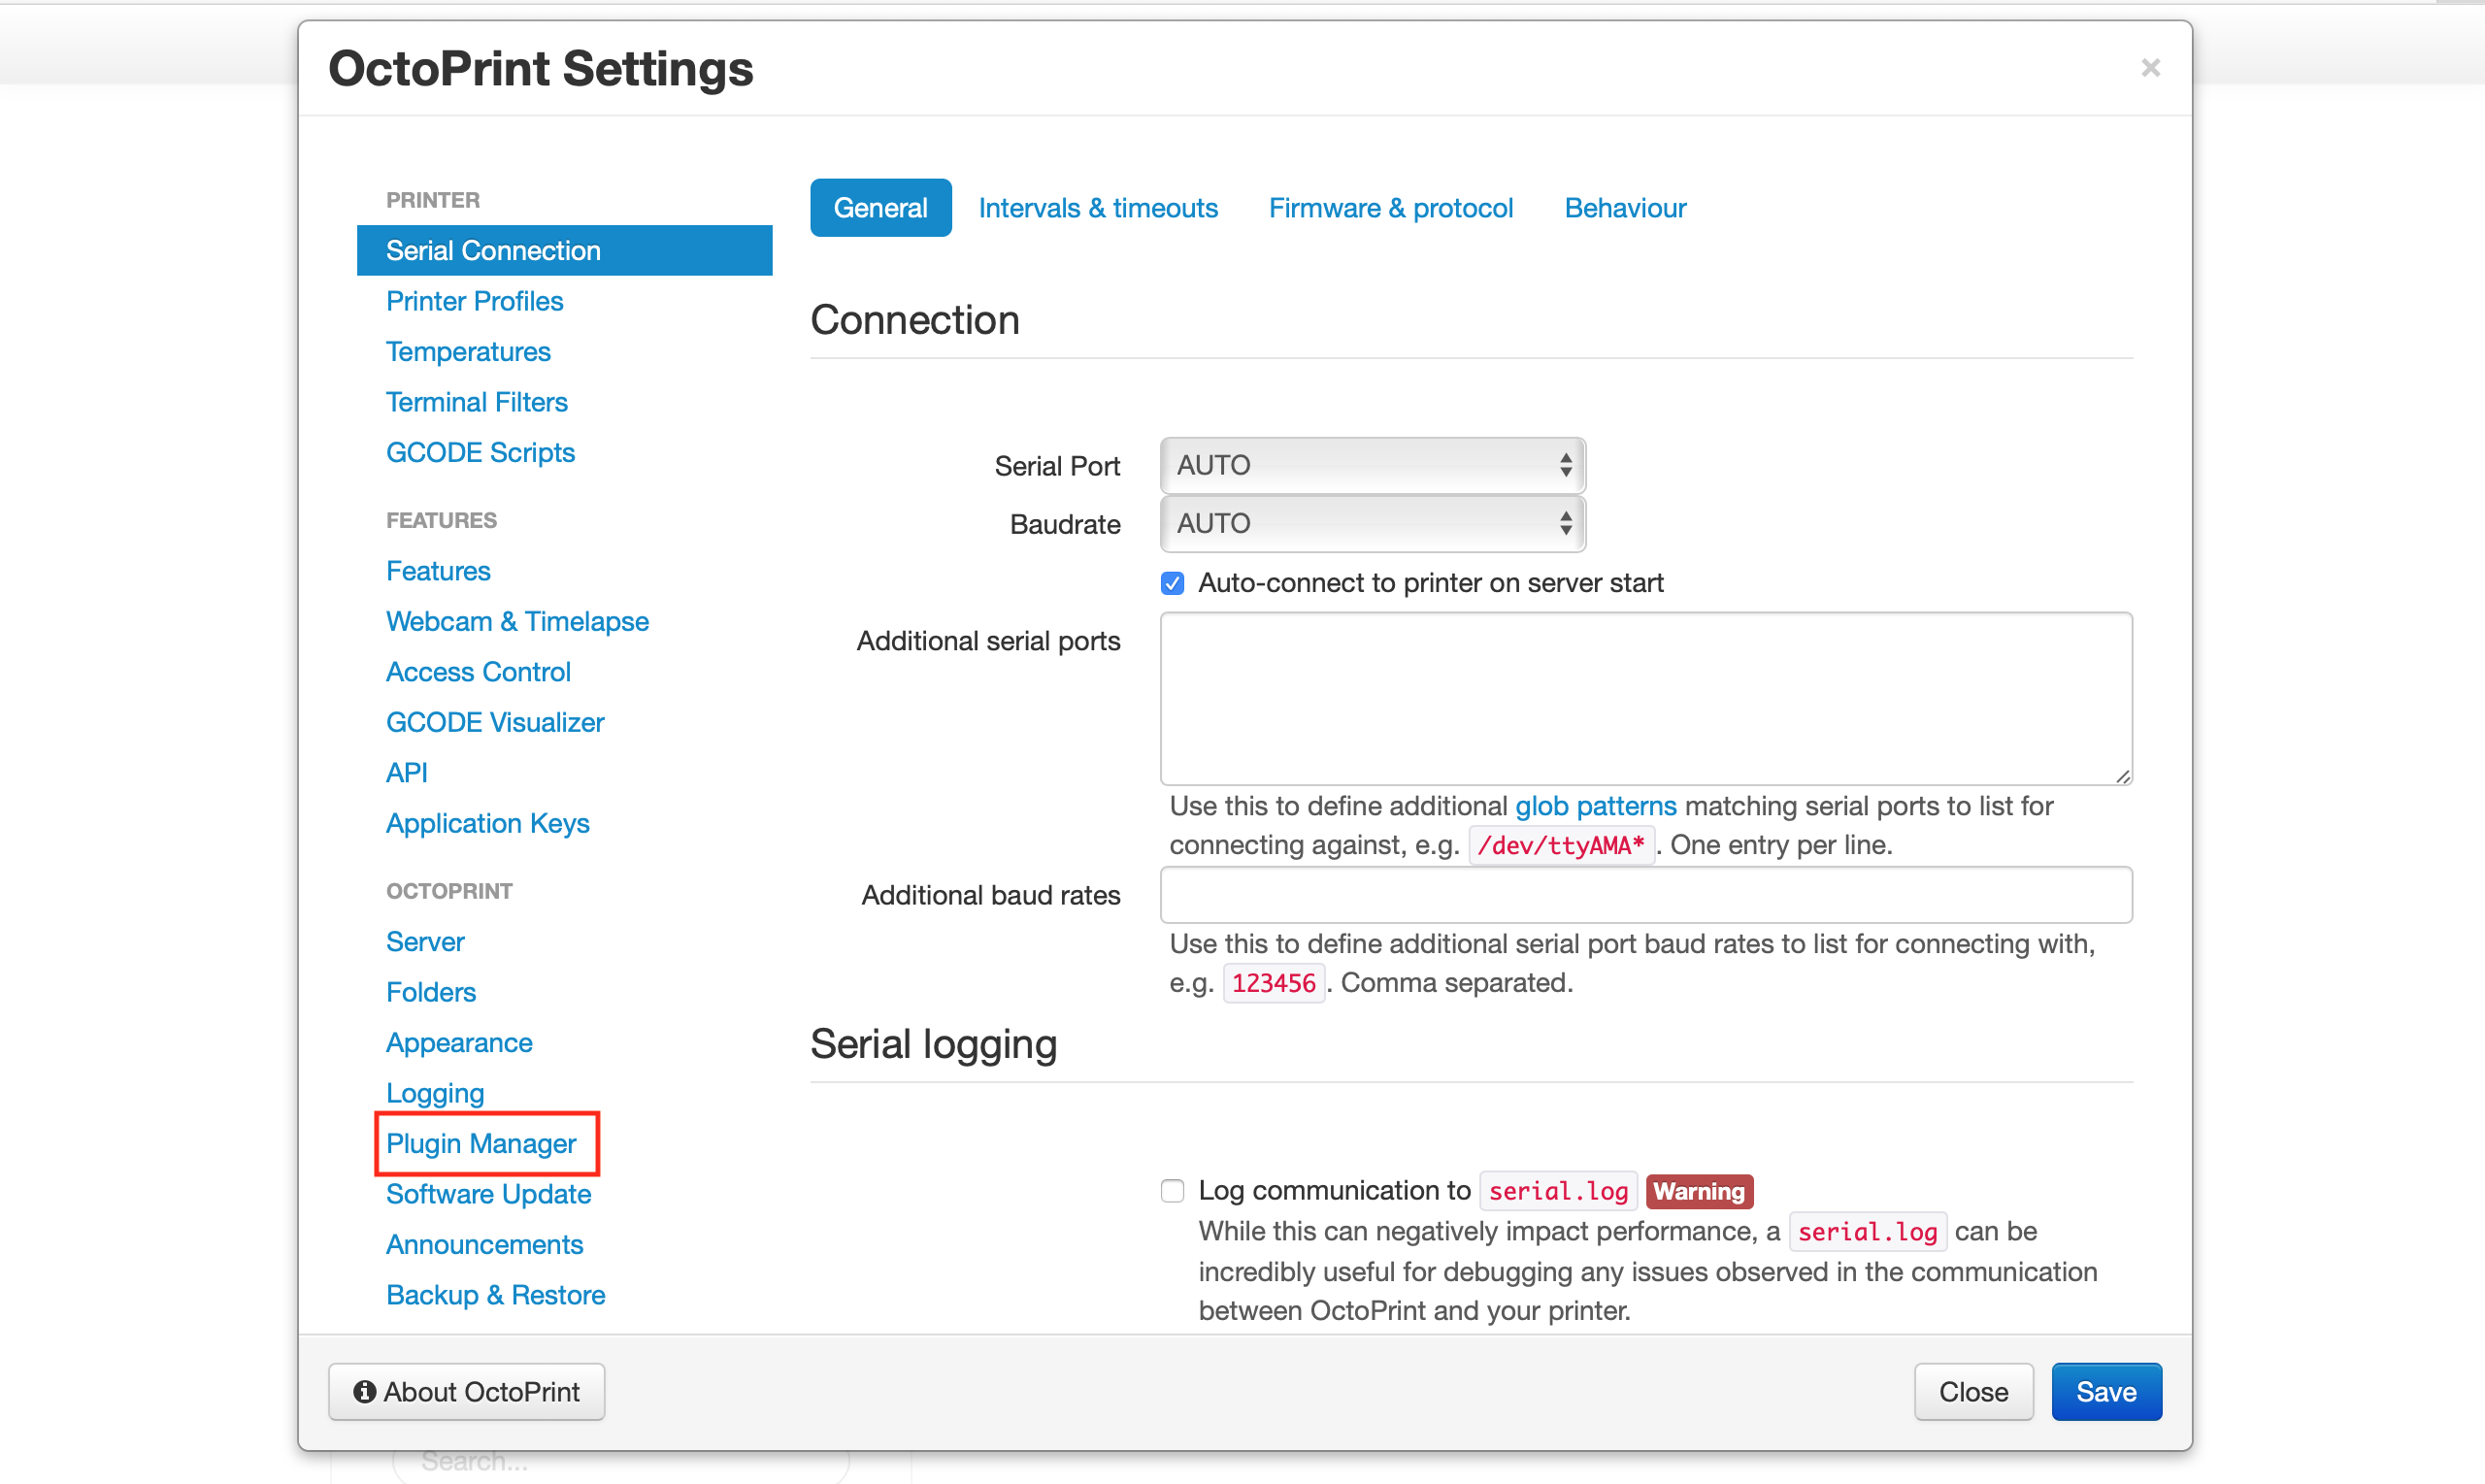


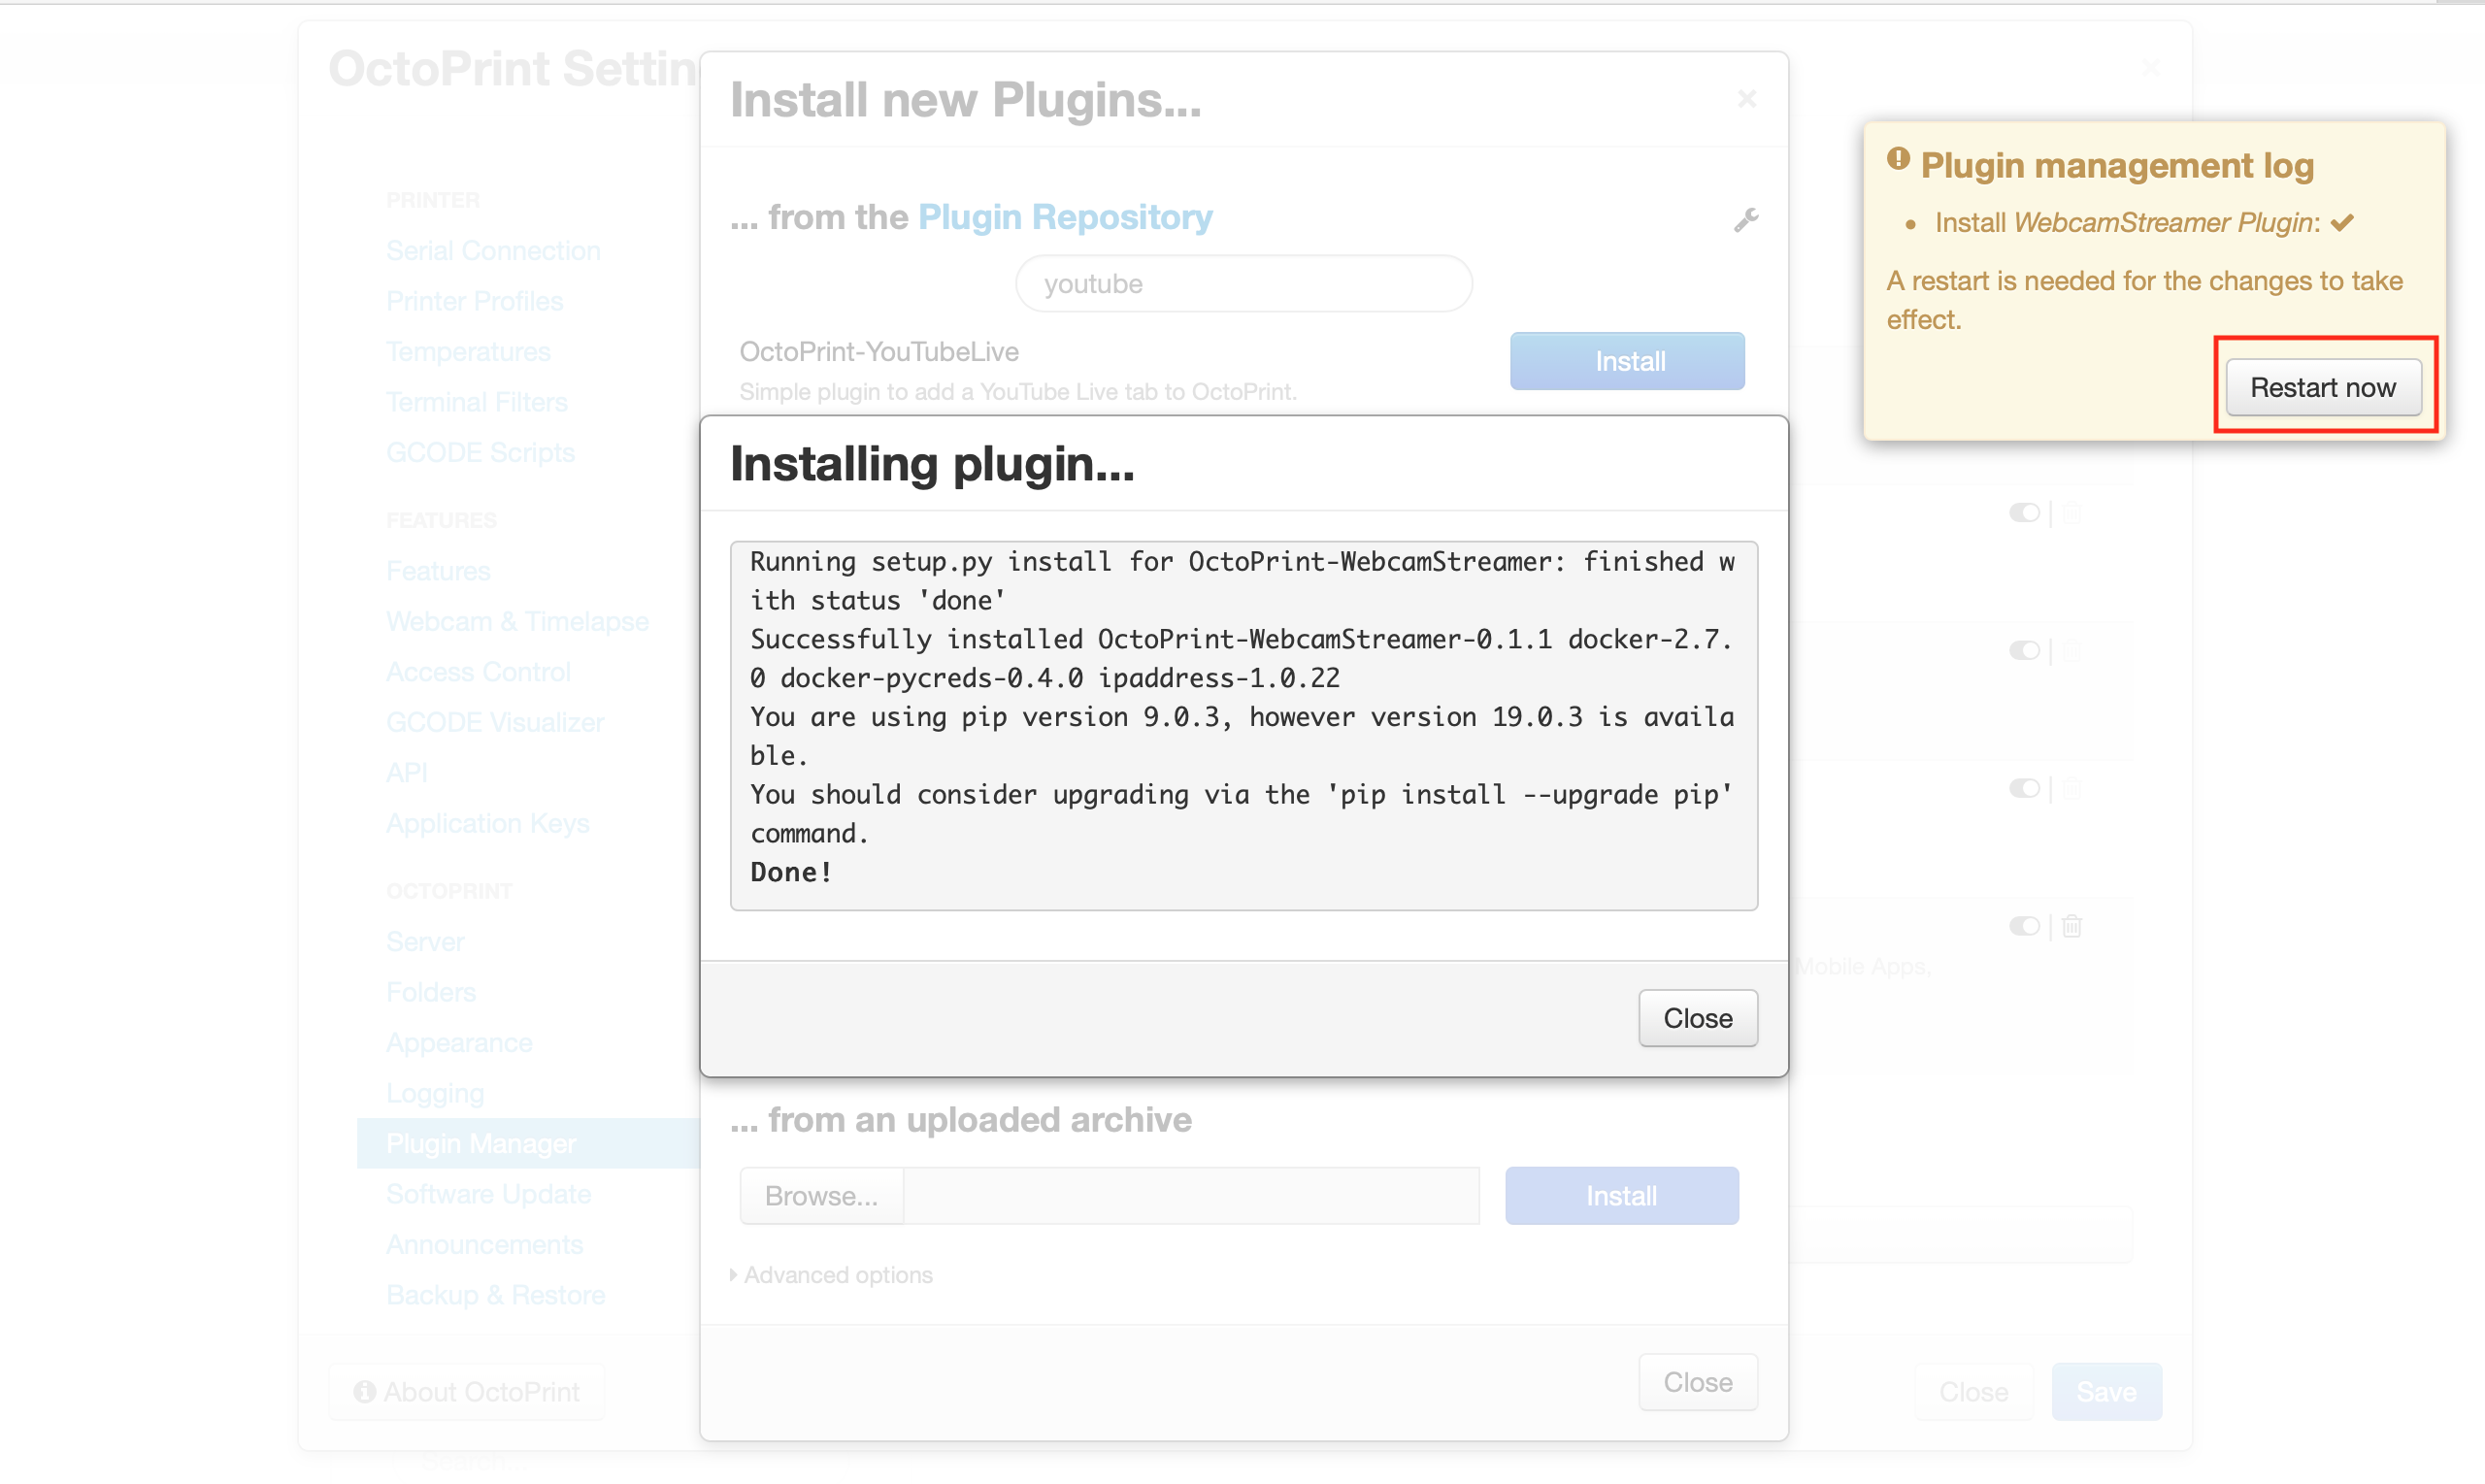


webcamstreamer 플러그인을 설치하고 재부팅을 하면
설정에 webcamstreamer Plugin 메뉴가 생깁니다

빨간 박스의 Viewer Embed URL, Stream Server URL, OctoPi Webcam URL 를 채워야 합니다
URL 설정
- 찾기 쉬운 OctoPi Webcam URL

Webcam & Timelapse 메뉴에 가면 이전에 설정했던 URL을 찾을 수 있습니다
OctoPi Webcam URL에 http://127.0.0.1:8080/?action=stream 를 넣어줍니다
- Youtube URL


YouTube에서 찾을 URL은 2가지로 Stream Server URL, Viewer Embed URL 입니다
크리에이터 스튜디오 베타는 메뉴 위치를 몰라서 이전버전으로 변경 후
서버 URL과 하단의 스트림 키 값을 복사했습니다
키 값이 유출되면 안된다고 하는데… 재설정 하면 되니 사실 가릴 필요가…
Stream Server URL에는 rtmp://a.rtmp.youtube.com/live2/[YoutubeStreamingKey] 를 넣어줍니다

그리고 Viewer Embed URL 은 실시간 방송을 확인할 수 있는 URL로 채널ID를 확인해서 넣어주면 됩니다
예제를 보면 chennel=XXX 라고 써있는데 인기없는 유투버는 채널ID생성이 안되기때문에…
본인채널 들어가서 URL을 확인해야하는 서러움이...

Viewer Embed URL에는 https://www.youtube.com/embed/live_stream?channel=UC8naOFR6ts_dnSWous5JiyQ 라고
넣어줬습니다
제 채널이 보고싶은 분은 그냥 넣으시면 됩니다

그럼 설정을 마무리하고 Save를 눌러줍니다


메뉴에 WebcamSteamer Plugin을 클릭해서 넘어가면
화면처럼 본인 채널이 링크되어 재생할 수 있게 되는데
저는 이전에 스트리밍 테스트를 해서 미리 보기가 있는 것 같습니다
처음엔 검은 화면 일지도…
Go Live 버튼을 클릭하니 에러를 뿜어주네요 깜박하고 캡쳐를 안함…
무슨 문제인지 확인하기 위해 플러그인 홈페이지에 접속했습니다


좀 살펴보니 docker를 사용해야하는데 설치를 안해서 그런듯합니다
|
Installation Using ssh access the OctoPi and install docker: curl -sSL https://get.docker.com | sh
Pull the adilinden/rpi-ffmpeg image: docker pull adilinden/rpi-ffmpeg:latest |
출처: https://github.com/adilinden-oss/octoprint-webcamstreamer
일단 우선 하라는데로 curl -sSL https://get.docker.com | sh 를 받아줍니다
알아서 실행까지 해주네요
|
Linux octopi 4.15.18-v7 #26 SMP Fri May 25 12:37:29 CST 2018 armv7l
The programs included with the Debian GNU/Linux system are free software; the exact distribution terms for each program are described in the individual files in /usr/share/doc/*/copyright.
Debian GNU/Linux comes with ABSOLUTELY NO WARRANTY, to the extent permitted by applicable law. Last login: Mon Apr 15 05:35:27 2019
------------------------------------------------------------------------------ Access OctoPrint from a web browser on your network by navigating to any of:
https is also available, with a self-signed certificate. ------------------------------------------------------------------------------ OctoPrint version : 1.3.10 OctoPi version : 0.15.1 ------------------------------------------------------------------------------
pi@octopi:~ $ cd utils/ pi@octopi:~/utils $ curl -sSL https://get.docker.com | sh # Executing docker install script, commit: 2f4ae48 + sudo -E sh -c apt-get update -qq >/dev/null [sudo] password for pi: + sudo -E sh -c apt-get install -y -qq apt-transport-https ca-certificates curl >/dev/null + sudo -E sh -c curl -fsSL "https://download.docker.com/linux/raspbian/gpg" | apt-key add -qq - >/dev/null Warning: apt-key output should not be parsed (stdout is not a terminal) + sudo -E sh -c echo "deb [arch=armhf] https://download.docker.com/linux/raspbian stretch stable" > /etc/apt/sources.list.d/docker.list + sudo -E sh -c apt-get update -qq >/dev/null + [ -n ] + sudo -E sh -c apt-get install -y -qq --no-install-recommends docker-ce >/dev/null + sudo -E sh -c docker version Client: Version: 18.09.0 API version: 1.39 Go version: go1.10.4 Git commit: 4d60db4 Built: Wed Nov 7 00:57:21 2018 OS/Arch: linux/arm Experimental: false
Server: Docker Engine - Community Engine: Version: 18.09.0 API version: 1.39 (minimum version 1.12) Go version: go1.10.4 Git commit: 4d60db4 Built: Wed Nov 7 00:17:57 2018 OS/Arch: linux/arm Experimental: false If you would like to use Docker as a non-root user, you should now consider adding your user to the "docker" group with something like:
sudo usermod -aG docker pi
Remember that you will have to log out and back in for this to take effect!
WARNING: Adding a user to the "docker" group will grant the ability to run containers which can be used to obtain root privileges on the docker host. Refer to https://docs.docker.com/engine/security/security/#docker-daemon-attack-surface for more information. pi@octopi:~/utils $ |
에디터가 바뀌니... 기존처럼 터미널 같은 느낌으로 글을 넣기가 안되네요.. 이런 그럼 글자크기라도 줄여야지..
중간에 메시지에도 docker사용을 위해 계정 변경 을 하라는 것 같으니 해줍니다
그리고 재부팅
|
pi@octopi:~/utils $ sudo usermod pi -aG docker pi@octopi:~/utils $ sudo reboot |
재부팅후에 docker가 떠있는게 보이네요
|
pi@octopi:~ $ ps -ef | grep docker root 556 1 1 00:28 ? 00:00:02 /usr/bin/dockerd -H unix:// pi 1192 1147 0 00:30 pts/0 00:00:00 grep --color=auto docker pi@octopi:~ $ |
docker pull adilinden/rpi-ffmpeg:latest 가 있긴 한데 일단 무시..


오… Go Live가 활성화 되고 스트리밍을 확인할 수 있네요
근데 바로 나오진 않고… 5분정도 걸린 듯…
파이에 부하가 좀 걸리는듯 합니다 게다가 무선이니...

언제부터 된 건지 확인해보니 4분정도가 지났네요
무선이라 끊겨서 그런지 방송이 매우 불안정하니 랜선으로 하시길 바랍니다
- 그 외
Raspberry Pi 라즈베리파이 - Anet A8 연결:octopi (octoprint img) install (Connect Anet A8 and Pi3 with octopi)
공식홈페이지: https://octoprint.org 출처: https://octoprint.org 이전에 1~3부 나눠진걸 한번에 해결해주는 OctoPi를 사용하기로함. octorprint 홈페이지에서 제공하고 raspbian에 설치하는것보다 간편하며 pi..
zelkun.tistory.com
Raspberry Pi 라즈베리파이 - Anet A8 연결 1부:octoprint install on Raspbian (Connect Anet A8 and Pi3 with octoprint)
관련 포스팅 [embedded/3D Printer] - Raspberry Pi 라즈베리파이 - Anet A8 연결 1부:octoprint install on Raspbian (Connect Anet A8 and Pi3 with octoprint) [embedded/3D Printer] - Raspberry Pi 라즈베리..
zelkun.tistory.com
Raspberry Pi 라즈베리파이 - Anet A8 연결 2부: octoprint setting (Connect Anet A8 and Pi3 with octoprint)
1부 octoprint와 이어짐 [embedded/raspberrypi] - Raspberry Pi 라즈베리파이 - Anet A8 연결 1부:octoprint install on Raspbian (Connect Anet A8 and Pi3 with octoprint) [embedded/3D Printer] - Raspberry..
zelkun.tistory.com
Raspberry Pi 라즈베리파이 - Anet A8 연결 3부:Camera setting (Connect Anet A8 and Pi3 with octoprint)
2부 octoprint 설정과 이어짐 [embedded/3D Printer] - Raspberry Pi 라즈베리파이 - Anet A8 연결 1부:octoprint install on Raspbian (Connect Anet A8 and Pi3 with octoprint) [embedded/3D Printer] - Rasp..
zelkun.tistory.com
[embedded/3D Printer] - Raspberry Pi 라즈베리파이 - Anet A8 연결 4부:Octoprint add on AstroPrint Plugin
Raspberry Pi 라즈베리파이 - Anet A8 연결 4부:Octoprint add on AstroPrint Plugin
출처: https://octoprint.org *octoprint plugin 메뉴를 사용하면 정신건강에 좋습니다 급하시면 중간부터 보시길. 참고한 Youtube 동영상을 보면 스마트폰 어플리케이션인 AstroPrint로 Octoprint를 제어함 그러..
zelkun.tistory.com
Raspberry Pi 라즈베리파이 - Anet A8 연결 5부: 3.5인치 터치스크린 사용하기 (use for 3.5 inch TFT Touch Screen to octopi)
터치스크린을 달아주었으니 이용해보기로 합니다 pi@octopi:~ $ startx -bash: startx: command not found 참고로 octopi에는 GUI모드를 사용할 수 없으니 사용하려면 별도로 설치해야 합니다 (열심히 설치중..)..
zelkun.tistory.com
Raspberry Pi 라즈베리파이 - Anet A8 연결 6부: octopi 기본포트 변경 change octopi octoprint default port 80 to 81
평소같으면 그냥 쓸텐데... 바꾼 공유기가 포트포워드기능이 그리좋지 않네요.. 내부 IP가 다른데 내부 포트가 같다고 못쓰게함... 그러니 octopi의 octopirnt 기본포트를 80 에서 81로 변경해줬습니다 포트 변경..
zelkun.tistory.com
Raspberry Pi 라즈베리파이 - Anet A8 연결 7부: 12v to 5v 레귤레이터 모듈로 pi 전원사용(Use Power Supply Module 12v to 5v Regulator for pi)
pi 전원을 아답타를 사용하고있는데 전원코드를 A8이랑 pi랑 두개나 쓰는 것도 그렇고 전원케이블이 짧아서 걸리적거리길래 12v to 5v 레귤레이터를 구입했습니다 구입한 제품은 : https://www.aliexpress.com/i..
zelkun.tistory.com
[embedded/3D Printer] - Anet A8 핫엔드 노즐청소 (filament remove and hot end nozzle clean)
Anet A8 핫엔드 노즐청소 (filament remove and hot end nozzle clean)
오랫만에 사용해서 그런가.. 전에도 틱틱거리는 소리가나긴했지만… 상당히 거슬려서 확인해보니...익스트루더에서 필라멘트가 안나오...고 있었다 노즐이 막혀서 필라멘트가 못들어가서 나는 소리로… 우선 정지..
zelkun.tistory.com
034. Raspberry Pi 라즈베리 파이 - RASBIAN 3.5인치 터치스크린 사용하기 (raspbian 3.5 inch touch TFT LCD use)
전부터 고민만하다가 3.5인치 터치 스크린을 처음 구입했습니다 사실 초기 설정 뒤로는 전부 원격접속해서 쓰느라 필요가없었는데 3D 프린터 제어용으로 구입해서 설정을 잡아줬습니다 ※관련글 [embedded/3D Pri..
zelkun.tistory.com
- 참고
- octopi plugin-Webcamstreamer: https://github.com/adilinden-oss/octoprint-webcamstreamer
- octopi plugin-YoutubeLive: https://plugins.octoprint.org/plugins/YouTubeLive/
- raspberry pi youtube streaming: https://www.makeuseof.com/tag/live-stream-youtube-raspberry-pi/
- raspberry pi youtube streaming(docker): https://tutorials-raspberrypi.com/raspberry-pi-youtube-live-streaming-setup/
반응형


댓글 영역